
Bathroom & Shower Tile
Waterproofing, wall tile, floor patterns, and niches — the full scope of bathroom tile work.
Why Shower Tile Fails — and How We Prevent It
Most shower tile failures trace back to one of two problems: inadequate waterproofing or an unstable substrate. Tile and grout are not waterproof on their own. Water moves through grout joints, through the tile body in some cases, and especially through any cracks that develop over time. Without a proper membrane behind the tile, that water works its way into the wall framing and subfloor, where it causes rot, mold, and structural damage that doesn't become visible until it's expensive to fix.
We use a sheet membrane or liquid-applied waterproofing system on every shower we tile. The membrane covers the pan, the curb, the lower walls, and all inside corners — the corners get reinforcing fabric embedded in the liquid membrane to prevent cracking at the transition. The membrane cures before tile goes down. That wait is not negotiable.
Substrate stability is the other side of the equation. Shower walls need to be on cement board or a similar tile-ready substrate — not standard drywall. On bathroom floors, we check for deflection in the subfloor and add blocking or a second layer of substrate if needed before setting any tile.
The Process, Step by Step
Substrate inspection and prep
We check wall and floor substrates for flatness, moisture, and structural integrity. Any issues — a soft spot in the subfloor, a wall that's out of plumb, drywall in a wet area — get addressed before anything else happens.
Waterproofing membrane
Sheet or liquid-applied membrane goes down on the pan and walls, with extra coverage at corners and transitions. Cure time is observed. In shower niches, the membrane wraps the full interior of the niche cavity.
Layout planning
We establish layout lines for both walls and floor. For patterned floors (hex, herringbone, basket-weave), we dry-lay the first section to confirm the pattern centers correctly in the space before mixing any mortar.
Setting and grouting
Tile goes in using the appropriate thinset for the tile type and format. Mortar is allowed to cure fully before grouting. Inside corners and perimeter transitions get caulk, not grout, to allow for movement without cracking.
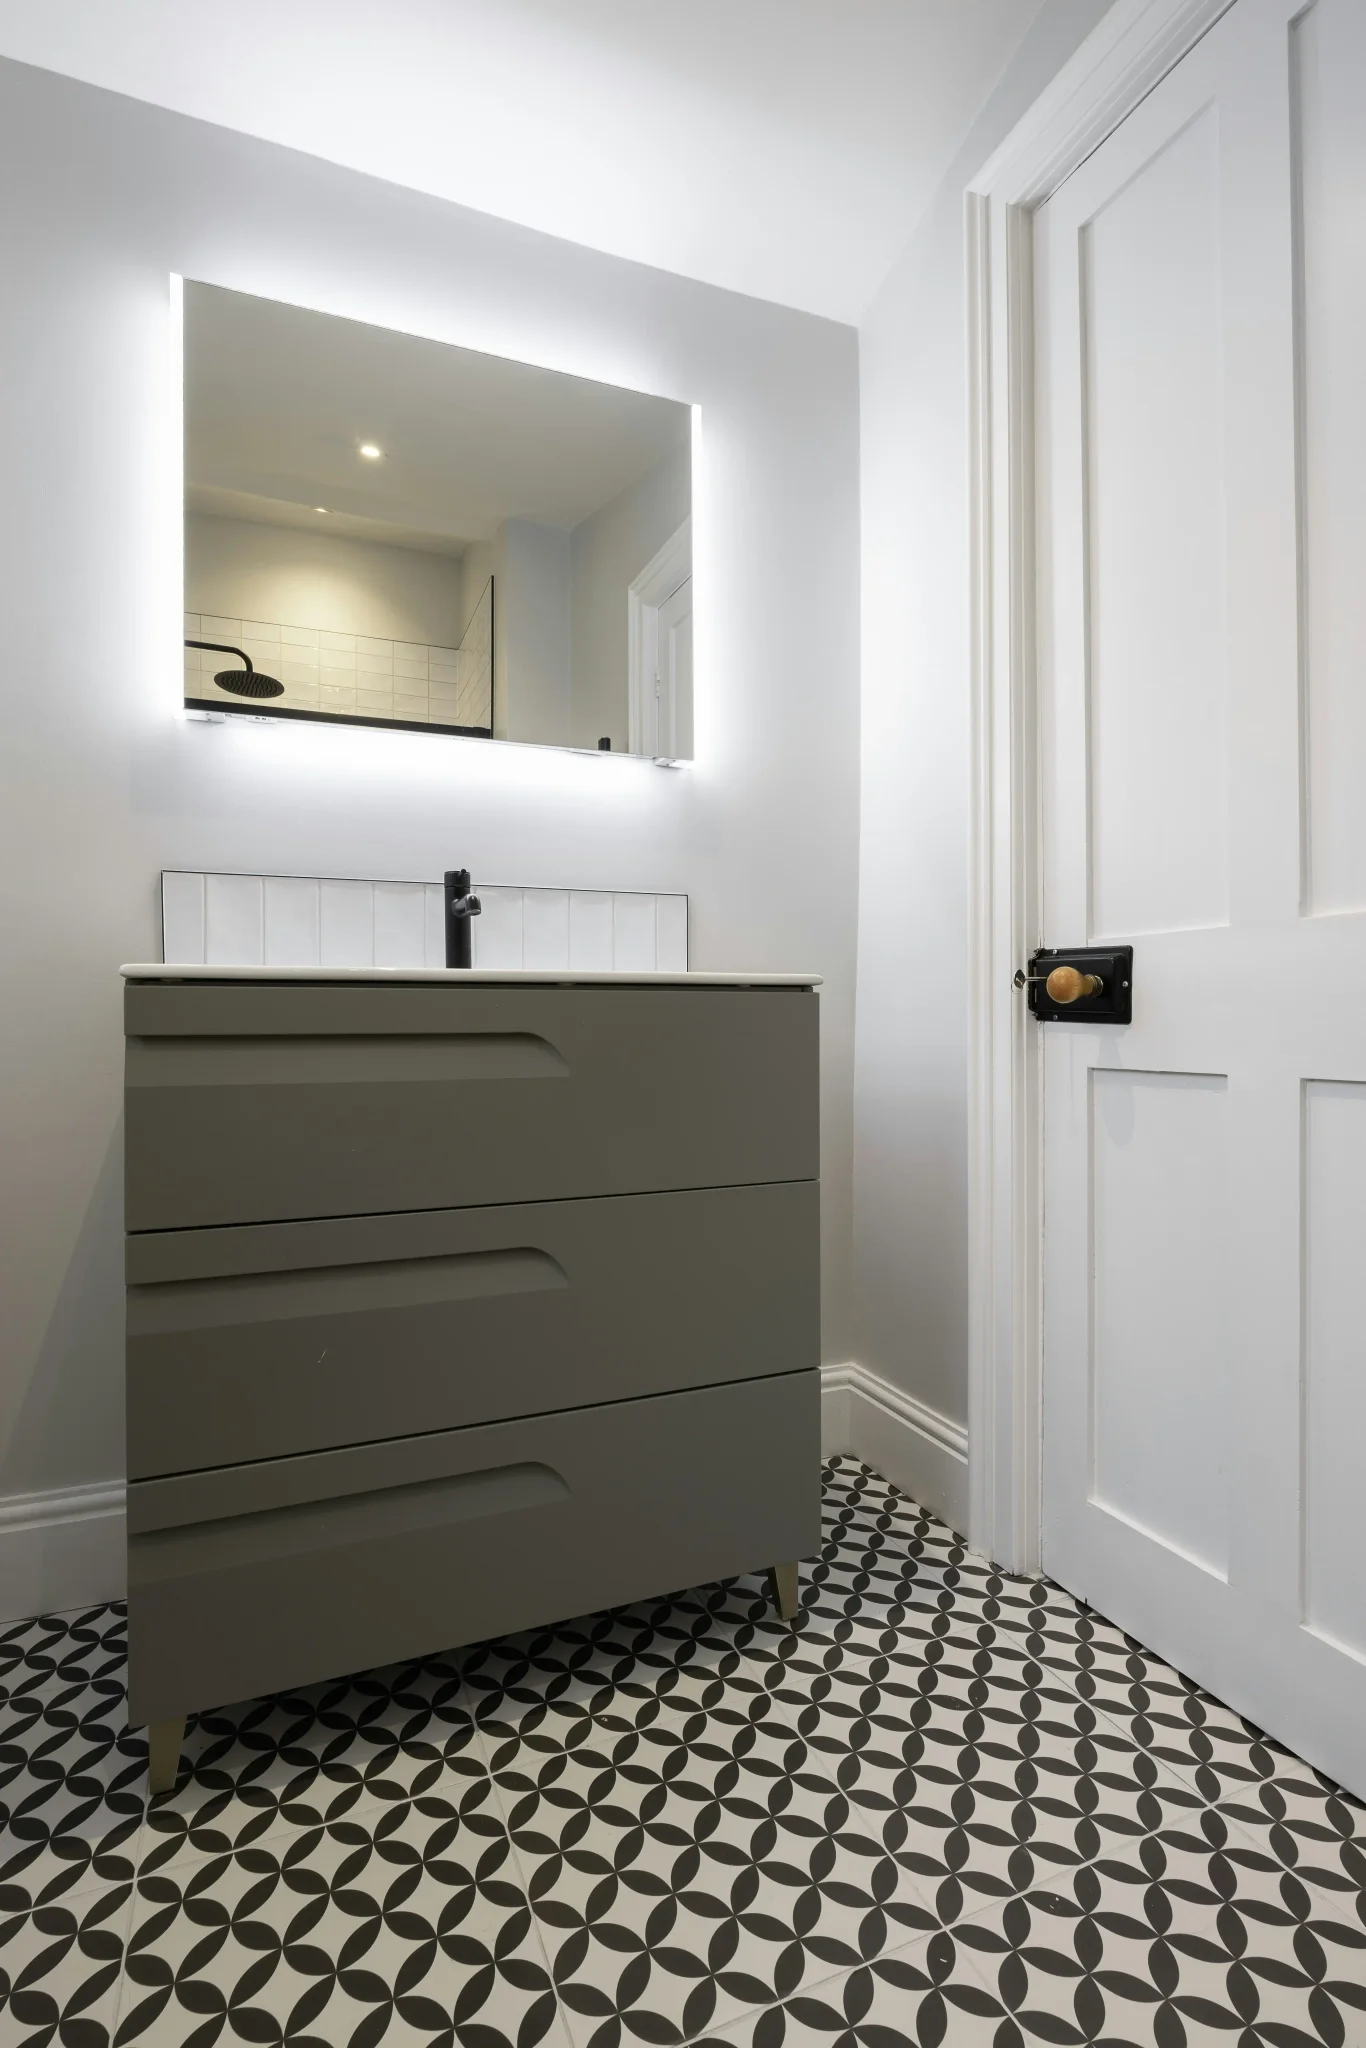
Bathroom Tile Work
Serving These Areas
Planning a Bathroom Tile Project?
Call (872) 465-4204 or visit our contact page. We'll schedule a walkthrough to see the space, check the existing substrate, and put together a clear written estimate for the work.